As I’m certain everyone is aware, a new version of SecureCI™ has been released! Many more tools have been included, and while the basic setup is the same, there is a bit more configuration that you’ll need to setup. My previous post of how to startup a new instance of SecureCI™ is still accurate, however once you log into your new instance, some of the initial setup steps are a bit different.
We have made the initial user creation a bit more friendly, and it’s about time our setup steps were updated to reflect this.
Upon connecting to your new instance as user “ubuntu”, the “firstrun.sh” script will run from your home directory. The script is responsible for configuring various server components of SecureCI including MySql, Trac, Subversion, and creating an additional unix user account. When it complete’s successfully, the firstrun.sh script will be removed from your home directory. If, for some reason, you need to run it again in the future, you can run it from /etc/init.d/firstrun.sh.
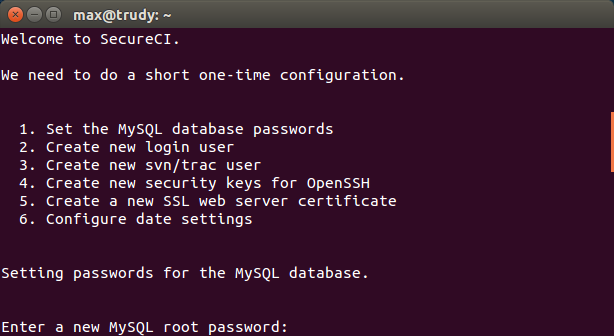
At the end of the boot sequence, you’ll need to answer some questions for a one-time configuration. Follow the prompts to:
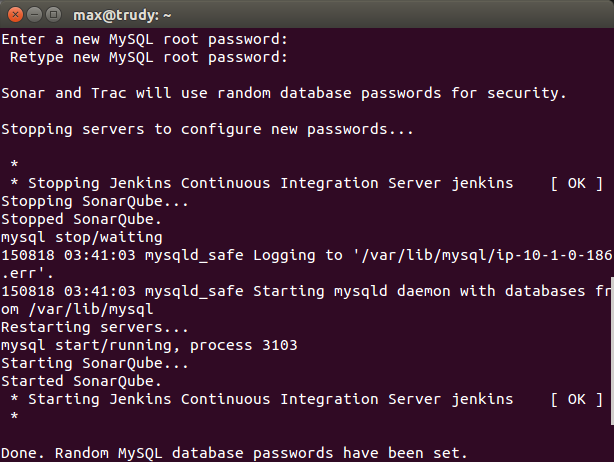
- Set the MySQL database passwords
This is the same setup steps as previous. This username and password should be remembered, as it may be needed for future root access to MySQL.
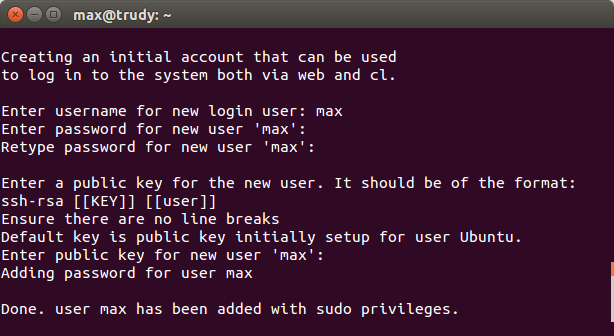
- Create new login user
The creation of the new user process has changed a bit. You will provide the username and password for the new user, along with a public key to be able to log into the machine in the future. If using AWS instead of a VMWare machine, this key will be the only way to successfully log into the machine. The public key needs to be in the format ssh-rsa [[KEY]] [[user (optional)]], as this is an Ubuntu machine. Creating this new user will tie in several accounts, along with provide access to the UI. Without creating this user, access to SecureCI through a browser is not possible. Once this user is created, it will tie the same user into Trac, SVN, Git and GitBlit. Trac and GitBlit will both have admin rights with this user.
Nexus, SonarQube, and Jenkins are not tied into this new user creation. Due to Nexus’ configuration issues, Nexus is not protected by apache, it can be accessed directly, without needing a password via htpasswd. Sonar ships with a known password for the administrator account. You should immediately change this, as this can be a security issue. As the Sonatype Nexus repository ships with a known password for the administrator account, from the first page of the SecureCI wiki choose the Sonatype Nexus link. Log in via the link in the upper-right corner, using username admin and password admin123. In the left-hand column under Security, choose the Change Password link. Follow the prompts.
While SonarQube is protected from initial access via htpasswd, it still ships with the default password configuration, which should be changed. From SecureCI choose the Sonar button. Log in via the link in the upper-right corner, using username admin and password admin. In the upper-right, choose the Configuration link. Then, in the left-hand menu choose My account. Follow the prompts.
Jenkins is also protected from initial access via htpasswd, however, it comes with full and open access. Consider setting up some initial Global Security settings.
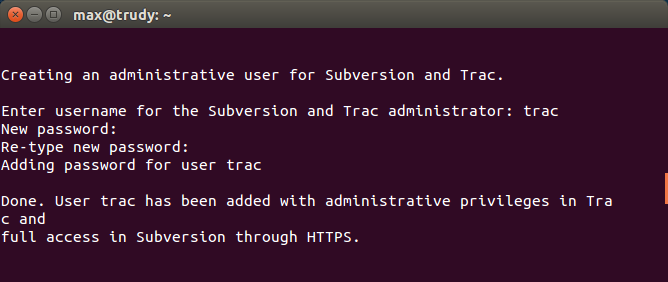
- Create new svn/trac user
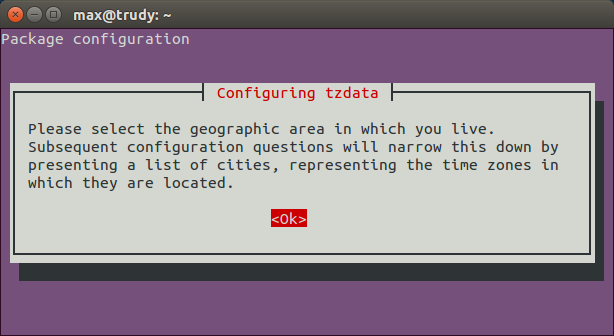
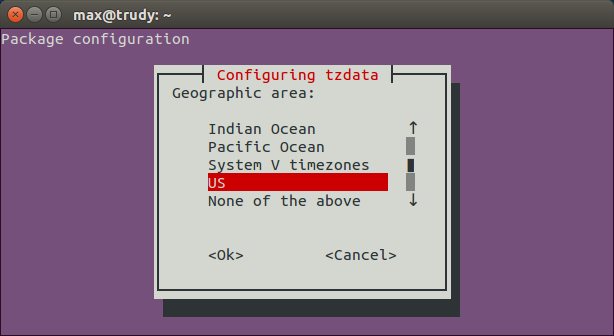
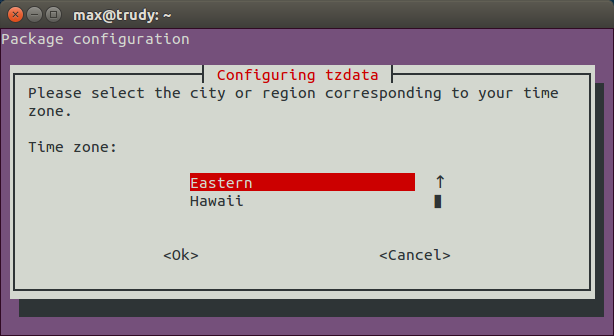
- Configure date settings
- Instructions on removing old user
Once completed, some quick steps will be displayed to inform you how to delete the old user. Be sure to do this, as there is a security risk with leaving known users on the system.

Good luck setting up SecureCI, and please post comments, suggestions, and and found issues below.



2 thoughts to “New SecureCI Release”
Pingback: SecureCI 2018 Q3 Release
Pingback: 2017 Q1 SecureCI™ Release Updates Announced